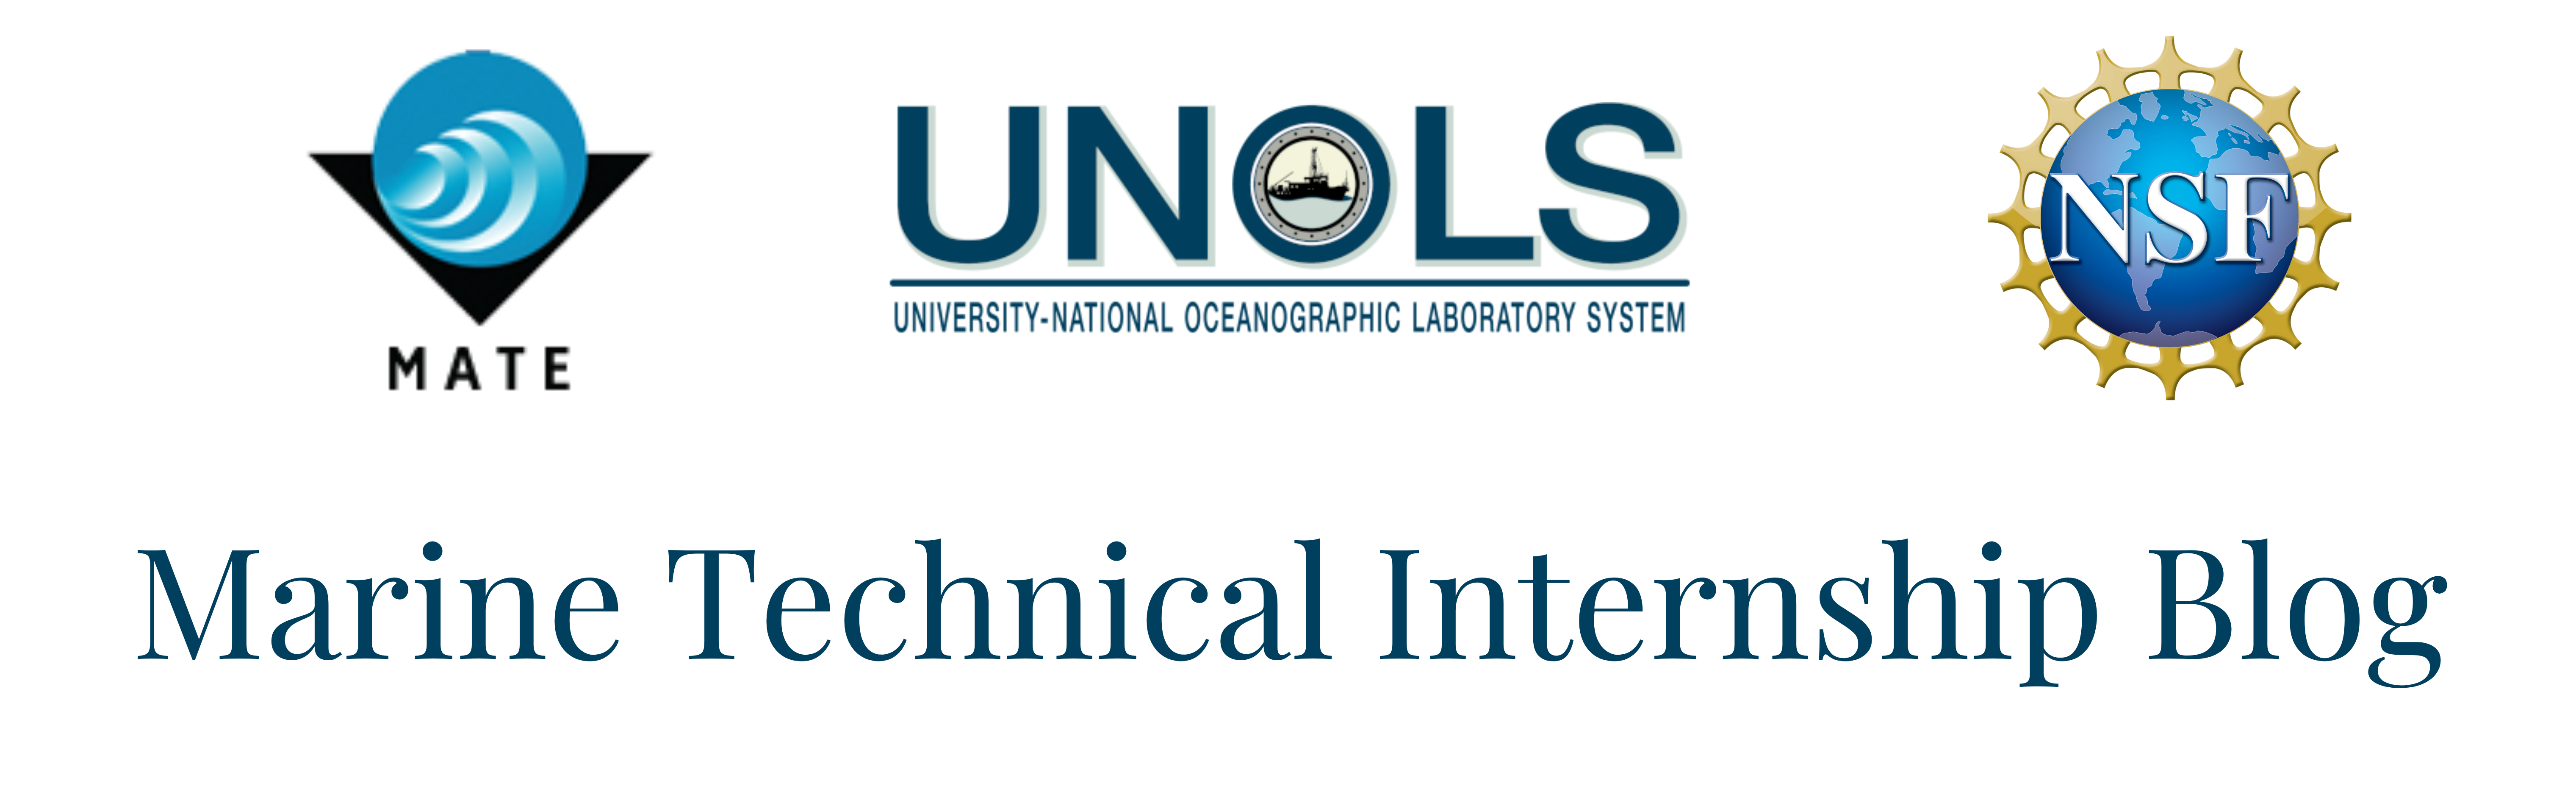
August 9th marked my third week aboard the R/V Pelican!
At the beginning of the week, the science party and crew worked to revise the cruise plan in order to avoid Hurricane Debby. We were successful at avoiding the storm while not falling too far behind schedule.
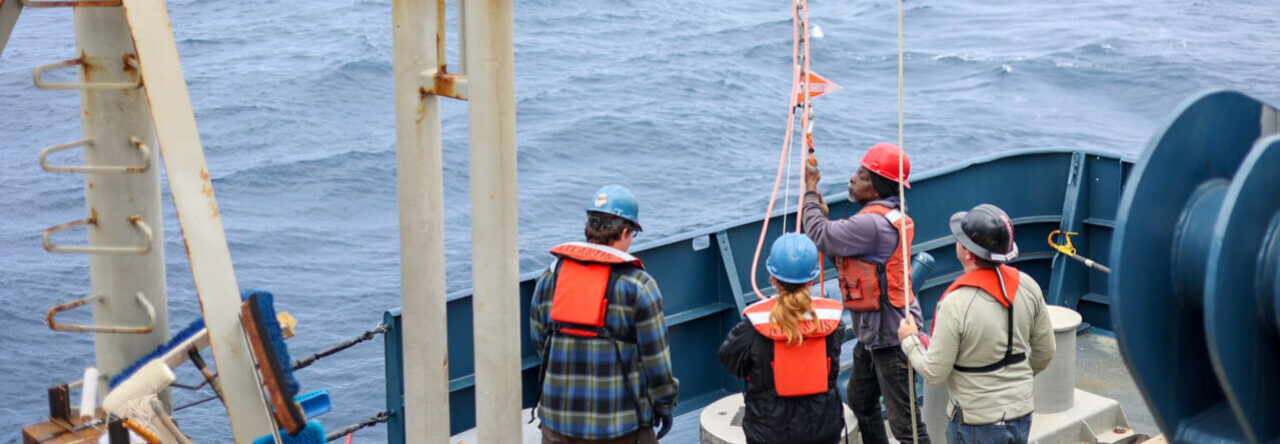
During this period of waiting out the storm, Maggie taught me how to complete a .322 EM wire cable termination.
For those who are not familiar, a CTD Rosette can either be deployed on a non-conducting or conducting cable. A CTD on a non-conducting cable is programmed before it is deployed to fire Niskin bottles at certain depths. A CTD on conducting cable does not have to be pre-programmed as the cable connects the instrument to a software called SeaSave, which is user-controlled in real time.
There are both electrical and mechanical terminations involved in a .322 EM wire cable termination. The electrical termination is the splice (connection) between the CTD’s Seabird Sea Cable to the conducting cable within the wire spooled on the winch (.322 cable). The mechanical termination is the addition of a helical grip to the .322 cable so that the tension on the line is not pulling on the portion of the cable that has the electrical termination.
To complete the electrical termination, the conducting cable within the wire spooled on the winch and CTD Seabird SeaCable are soldered together.
Here are some pictures of steps I had to take in order to electrically terminate the CTD Seabird SeaCable to the .322 cable. (To all of the people reading this who are well-versed in the realm of soldering and wiring, do not fret, I put heat shrink around each of the connections, as well as over both of them. Gotta make sure there are no weak points in the wire!)
After the connection was made and waterproofed (lots of electrical coating sealant, splicing tape, heat shrink, and electrical tape), we plugged the newly terminated SeaCable into the CTD instrument to see if it was operational.
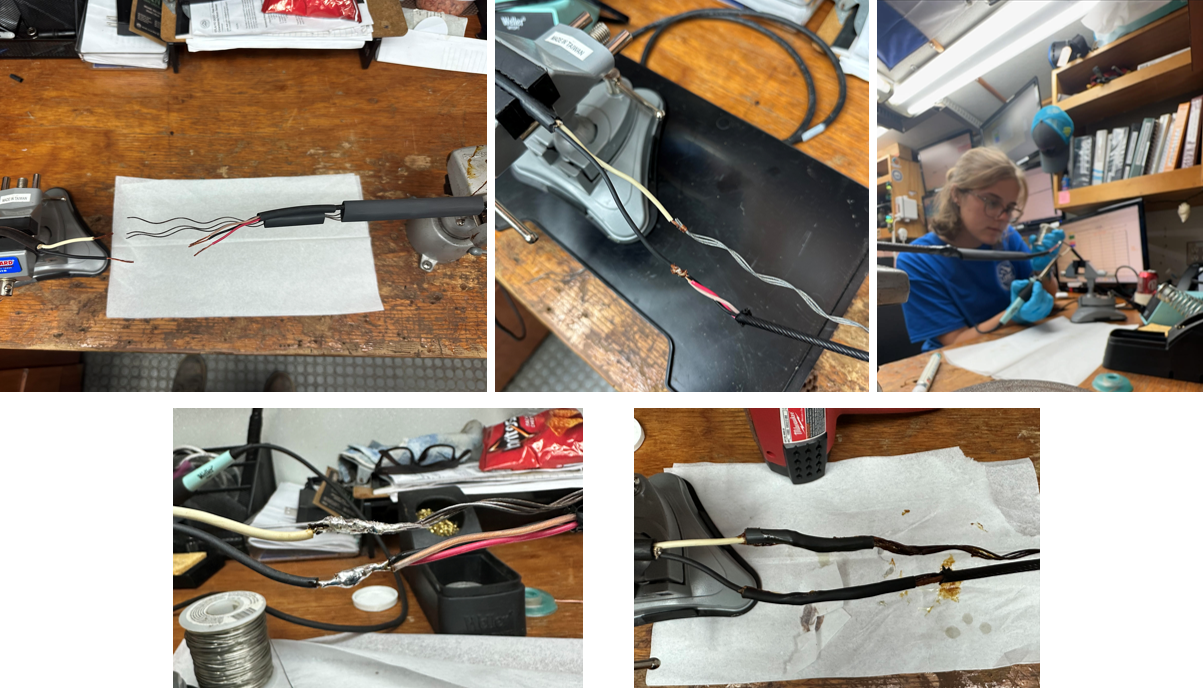
It worked!
This picture is showing that the electrical termination I completed was successful! We know that it worked as the software was showing real-time data acquisition. You can see this on the left-hand side of the computer monitor pictured.
It was rewarding to see that all of the hard work of completing the electrical termination was successful!
After the electrical termination was completed, we moved on to completing the mechanical termination.
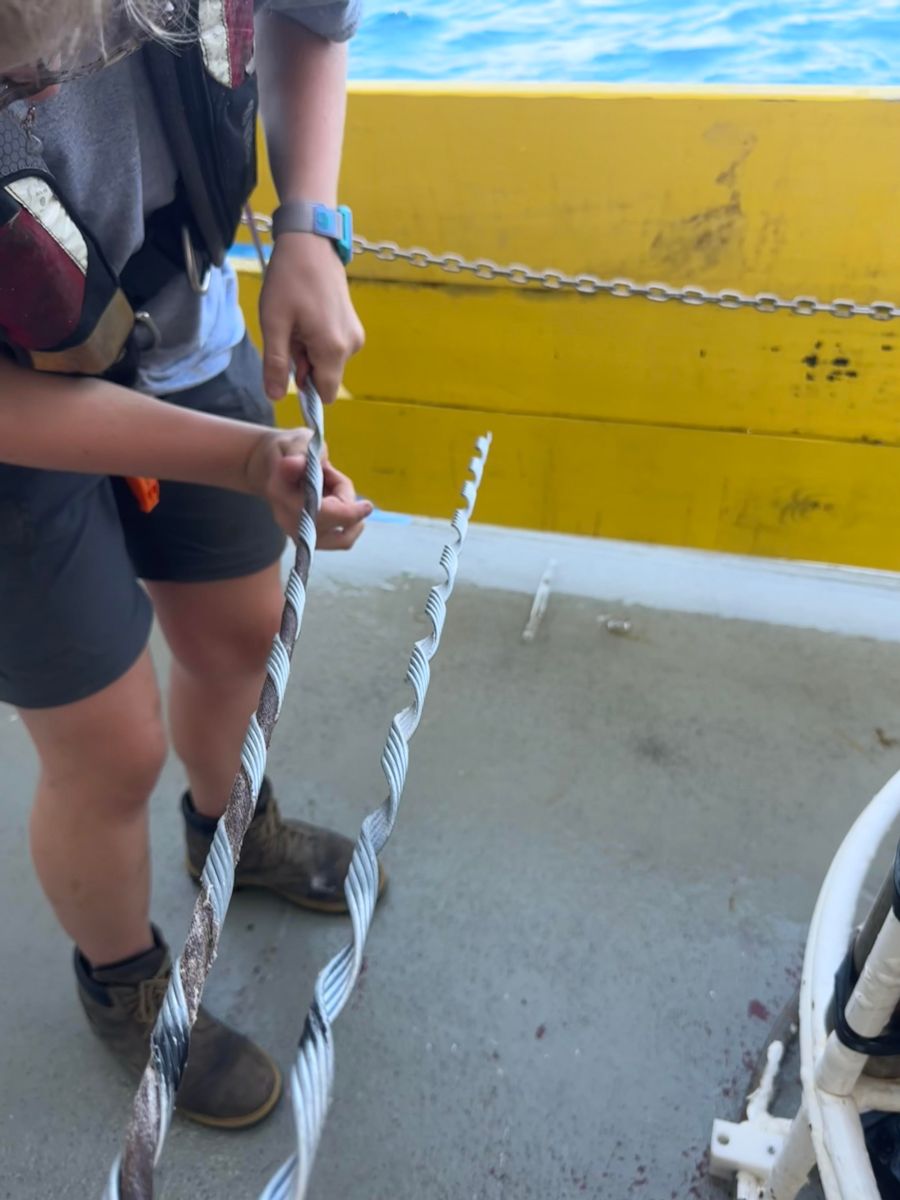
Placing the helical grip on the .322 cable.
This was a super cool process to learn how to complete!
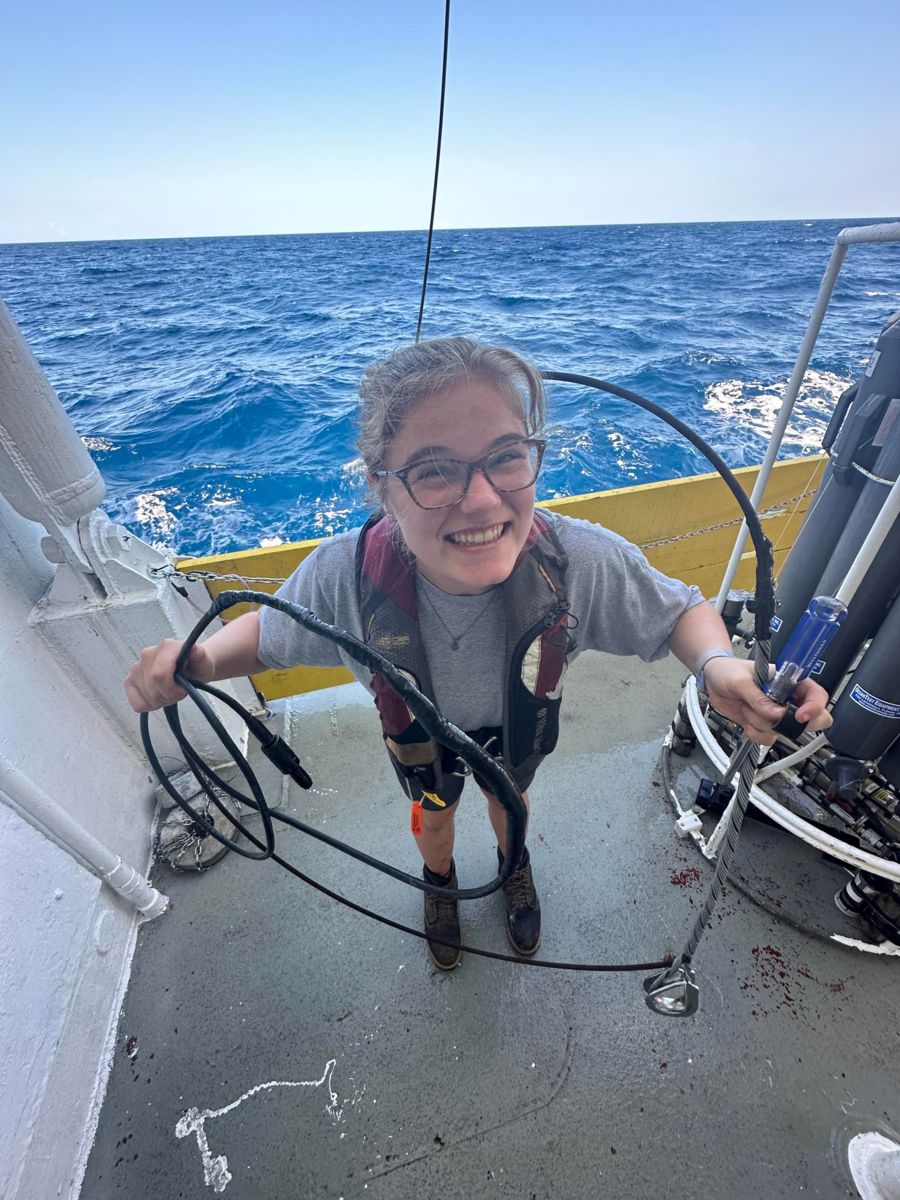
I was very excited to have successfully completed a .322 wire cable termination! Thank you Maggie for teaching me how to do this!
Maggie and I also had to change out the magnetic induction sensor on one of the winches used for deck operations.
That sentence was full of a lot of jargon, I know. Let’s break it down: a winch is a device used to pull in or let out wire. Knowing the amount of wire you need to let in/let out is important, so a sensor that uses the sheave (the piece that keeps the wire in place as the drum rotates) is used to do this. The sheave has magnets, and the magnetic induction sensor picks up these magnets. The distances between the magnets—and how much line is paid out— is known in the program the sensor uses, so it then can calculate and display how much wire has been paid out.
This was a fun project to help complete as it allowed me to practice creating electrical terminations, and familiarize myself with the components of a winch. Below I have an image of the winch that Maggie and I were working on, with the terms I have mentioned previously in this blog (“drum”, “sheave”, and “magnetic induction sensor”), as well as the term “block”. A block is used to redirect the direction of the line, as well as increase the pulling power of the machine.
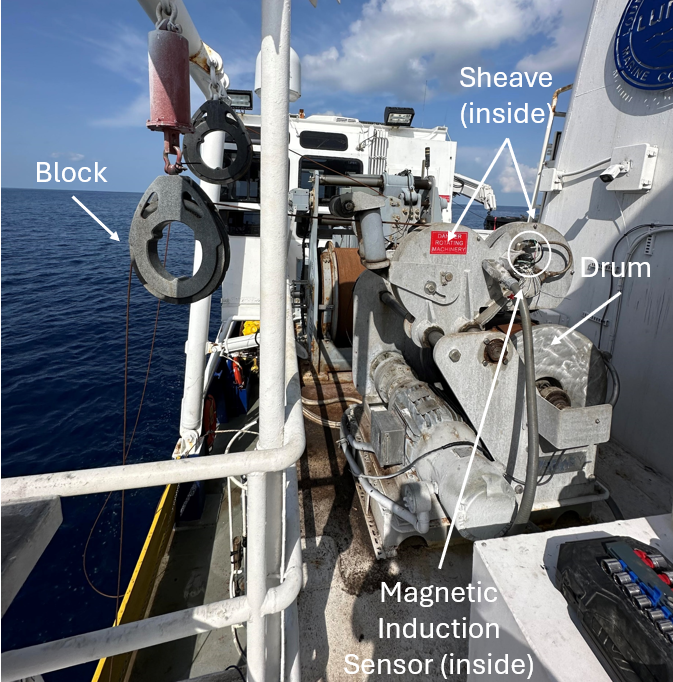
A quick guide to *some* of the parts of a winch.
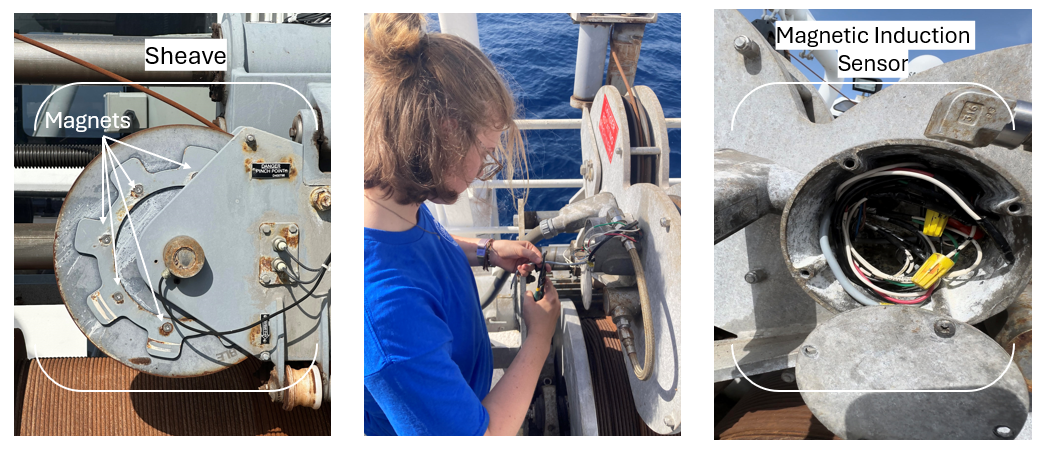 From left to right: A close-up image of the sheave, me installing the magnetic induction sensor, the magnetic induction sensor after being installed.
Alongside improving my technical skills, I have enjoyed expanding my understanding of how to safely deploy and recover oceanographic instrumentation– specifically relating to understanding when and where load transfers occur on moorings.
I have also been able to learn more about how to service acoustic releases! I am really appreciative that the science party on board has allowed me to observe and take part in these procedures.

An acoustic release in the process of being serviced.
Some other skills that I have been working on improving have been my knot and hitch knowledge. I also had the opportunity to help the science party splice line segments needed in their mooring designs!
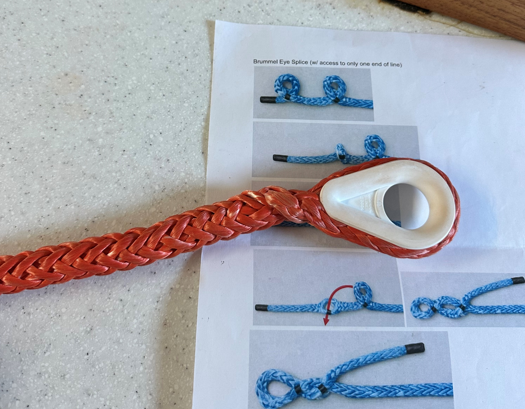
Brummel Eye Splice with a plastic thimble!
It has been a week full of learning, I’m eager to see what next week will entail. 🙂
(p.s., Something unique about this cruise is that we had to have a port stop in order to top off our water supply. The port stop occurred in Key West, Florida, and we were able to get off and explore the immediate surrounding area!)