Hello Readers! This past week has been awesome learning new things but pretty intense with back-to-back deck operations.
Let’s dive in 🙂
9/16
Today, I practiced my CTD termination! Since we have yet to make a new CTD termination but instead have made a new trawl winch termination, I have been using scrap cable from the CTD to practice with.
So, what is a cable termination? A cable termination is when you are connecting two different cables together so that power can run through the cable to give and receive signal to whatever device you want connected! I have been practicing with a pigtail cable (cable that attaches to the CTD with no end, just cable that has been cut). In order to make a cable termination you must cut through the outer layers of both cables. The CTD cable is made out of two metal layers, an outer and inner layer. I will have to cut through both to reach the inner wire that sends and receives signal.
I first have to cut through the CTD outer layer using a Dremel and make sure it is an even cut so that when I cut the inner layer, it is even for termination. I then cut the inner layer and leave two metal strands alone so that the positive or negative wire from the pigtail cable will be later attached. I then move onto another layer which is a silicone shield, to protect the inner wires from touching and conducting electricity to the outer layer that also sends and receives signal. I strip the silicone shield by using a wire stripper and delicately remove it to reveal the 3 strands that can go to the positive or negative wire. The trickiest part is having to individually strip these three very thin wires without cutting through them! If I do make that mistake, I have to go down further into the cable to try again and if that happens too many times, I might have to start over from the start!! After I carefully strip each wire and sand wire to expose the pretty pink wire, it is time to move onto the pigtail cable!
Revealing the inner wires of the pigtail cable is relatively easier and the same process as stripping the three thin wires. I use a wire stripper to cut through the thick black pigtail cable to reveal the two inner wires and some paper to keep the cable in its circular shape. I use the wire stripper again to strip down these somewhat thin wires and sand them down to reveal the pink wires. I sand down the wires so that the next process is a bit easier for me.
Once everything has been stripped and sanded down, it is time to put the two cables together via soldering! I prepare the soldering material and twist the matching wires together so that soldering is easier. To find out which wires from the CTD cable match the wires from the pigtail cable, you do a continuity test using a multimeter to find out which wire is positive and negative. Once that is figured out, you can then twist the wires together and start soldering!
Before this internship, I was not too experienced with soldering since I did it a few times for a class. However, now that I have practiced a bunch of terminations using solder, I got the hang of it!
Once I soldered the wires together, making sure to cover most of the exposed wire, I then cover it with heat shrink to really secure the new termination I made. Then there are two ways to go after this step to fully secure the termination. There is a resin/silicone inline splice kit method or a hot glue method. Both choices vary on the context of making a termination, whether that be time constraint or quality of termination. The hot glue method is just as good as the resin inline splice method and dries quicker to use the termination ASAP. The resin inline splice method, depending on the manual, takes 24 hours to set but is very sturdy and has a nice mold it can set in. I went ahead and did the hot glue method since I am only practicing and would be very fast to set.
I started hot gluing the new soldered wires together to form a single cable, the same diameter as the CTD winch cable, and made sure it was nice and even. To really secure the hot glue termination, you should hot glue a few inches past the cables so that the hot glue has something to really hold onto. Once that is done, we can now use a bigger heat shrink to finalize and secure the new termination once more!
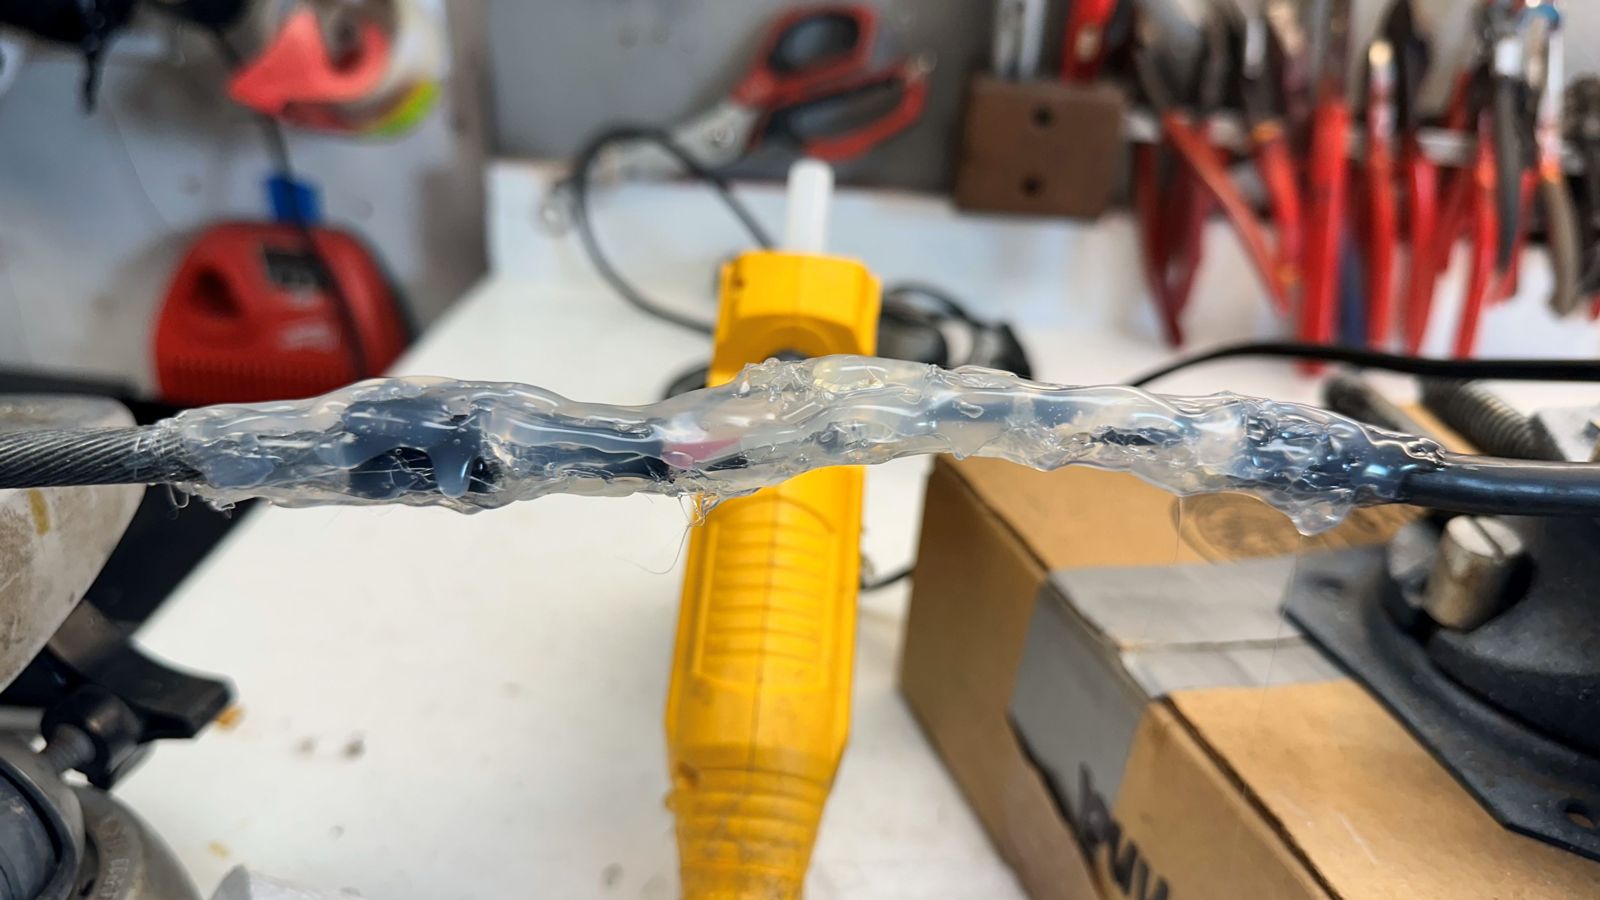
I use a bigger heat shrink so that the new hot glue can be covered, and that the diameter of the cable is even across the entire termination. This step usually takes a while if I use too big of a heat shrink but, in the end, they all shrink down to a good size and secure the brand-new cable termination I just finished!
9/17
Today, I learned how to process some CTD data to help scientists calibrate their data. To process CTD data, we use a software called Seasave that automatically gathers the data and averages values depending on the parameter. I first had to process all the CTD data which was one file output and then, to help out a scientist who wanted average sound velocity at every meter, I went ahead and processed the output file. To get sound velocity averaged at every meter, I had to bin the data by one (which accounts for every meter), and then press the process button to get the bin file! I then give all the processed and binned files to the scientist who needs it, and his data will be calibrated soon!
This current cruise is about to wrap up as we head to shore now, so in preparation, we turn off the SCS system, flow thru system, ADCP system, and ship track system once we reach Gulfport Bay. Once these systems are shut down, they will usually be saved in their respective folders within the ships network. That means the marine tech has to gather all the individual data from the systems and put them into folders labeled ADCP or SCS that then get added to one major folder with all the cruise data! This single folder with all the science data gathered from the entire cruise is then transferred to a USB which is then given to the Chief Scientist of the cruise!
It is very fun to know where cruise data comes from, how it is manipulated (sometimes), and see it all come together to be given to the Chief Scientist. I have been on the other side of the science where I receive that data and have to do some post processing to get the data I want and need. In my head, it all makes sense where the data comes from, how its saved, why it has to be saved in certain formats, so we the scientists can go crazy with the data!
Later that day when we had some down time, we went over the name of hand tools which I am not too familiar with. The only hand tools I know are a Phillips flat head, screwdriver, and a hammer. Outside of that, everything I learned and mentioned on this blog has been learned on this boat!
Then to end the day with an activity, I was introduced to hollow braid and how to splice with it! This type of rope is synthetic but braided very meticulously so that when you push against it, it opens up, but if you pull it, it tightens. To splice this rope, you need to use a tool called a fid. The fid looks like a knitting needle with a pointy end on one side and an opening on the other. The opening is for the hollow braid rope to go into to be able to tuck the rope into itself. Grace taught me a trick to cut the end of the rope at an angle and tape it off with electrical tape to be able to effectively insert it into the opening. To really secure it, she says to wrap the area around the fid where the rope is inserted into with more tape. Now that it is taped up, it is ready to splice!
To splice, you need to have enough line to either make an eye splice or an end splice. Usually, the amount of length needed to make a secure length is around ten inches. When beginning a splice, you put the pointy end of the fid into the rope (with enough space) and start pushing the rope into the hollow braid. It will naturally start to open up and go further into the fid. Once you are at or past ten inches then you take the fid out and then take the rope from the fid and pull the rope from both ends. This will make a seamless splice and keep most of the strength of the rope!
.jpg)
9/18 & 9/19
Today we reached shore, and I learned how to shut off the flow thru system! Yesterday I learned how to turn off the systems but now I have to fully shut the flow thru system down so that I can learn how to deep clean it! Lots of algae accumulates in the transmissometer and the TSG (temperature, salinity, and conductivity) so marine techs have to maintain these sensors and clean them every other month!
Cleaning the transmissometer, we use grit soap to clean it first, and then use diluted bleach to wash the grit soap and then rinse it with water to finish it off. The TSG is more delicate and can be cleaned with grit soap but cannot be cleaned with bleach! Then you must rinse the TSG with water and use a scrub to get the grime off. Once everything is clean, you put the sensors back together (which is hard on this ship) and boom, the flow thru system is cleaned!
Next on cleaning is the CTD sensors and Niskin bottles! This CTD cleaning has to happen after every cruise is complete so that the sensors are ready for the following cruise. The products used to clean the CTD are diluted Triton X (a surfactant), diluted bleach, and DI water in that order! I used a big syringe with a tube connected into the CTD sensor in order to pump the chemicals back and forth to get all the accumulated algae and saltwater out. Once I am done cleaning, I leave a bit of DI water in the CTD so that the sensors stay wet and maintain function.
Once that was done, I rinsed the entire rosette with freshwater and made sure to rinse the inside of all the Niskin bottles so that they were all nice and clean. I left the bottles open for them to air dry and once they fully dried, I closed them and finished cleaning the CTD rosette!
9/20
Now that the first cruise is done, the ship crew has to start preparing for the next one! Today we are mobilizing for the next cruise and that means getting our shift schedules in order. Me and Grace agreed that I should have the morning shift from 4am to 4pm, leaving me to be the sole marine technician for around four hours!! This means I have to be in charge of coring operations and CTD casts before Grace is even awake! This made me a bit nervous at first since I have not done a coring cruise before but the mate and deckhand on shift will help me through it all!
Since most of today was scientists getting their equipment on board, Grace went ahead and introduced the Chirp echosounder to me. The Chirp system on board has two settings; 3.5kHz and 12kHz. The 3.5 kHz is used to make a 2D profile of the seafloor and also display subfloor layers, which can tell scientists what type of rock it is. This, however, comes at a cost on the ship since the Chirp sends loud signals and at a fast rhythm depending on the depth, which might disturb sleep for people. The 12kHz on the other hand is much quieter and can give a profile of the seafloor but cannot display any subfloor layering. So, scientists may want to use one setting over the other depending on their needs. On this mud cruise, the PI wants to use the 3.5kHz to create a seafloor profile in order to see what type of rock is beneath the seafloor.
9/21
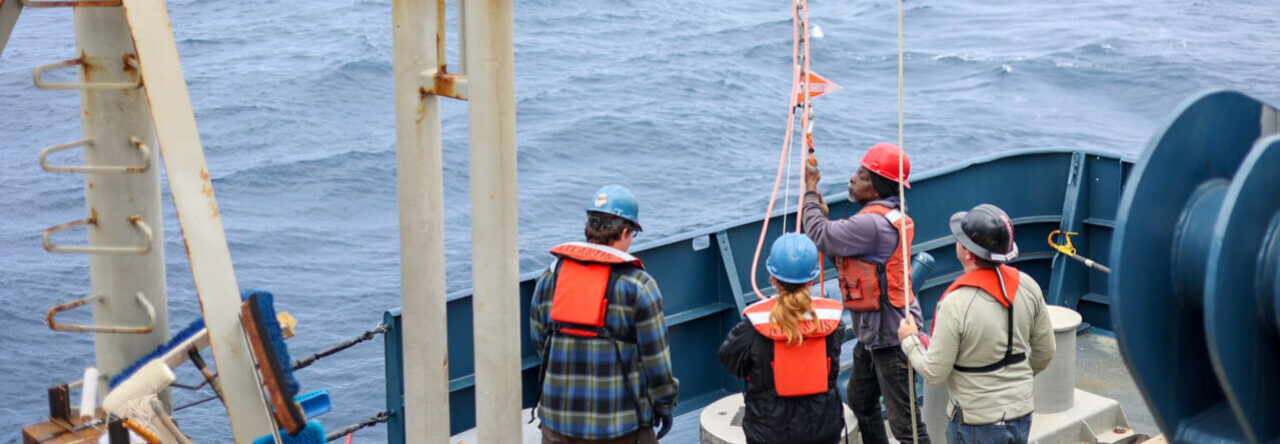
This morning was my first shift alone as the marine technician! It was a really rough start but, in the end, everything worked out how it was supposed to! Coring operations with the Mega core require someone to control the A-frame, the .680 winch, and the ship. The way things worked out this morning was that the deckhand controlled the A-frame, I controlled the winch, and the mate controlled the boat (to keep it on station). I was not expecting to control the winch, let alone do it on my first coring operation, but I did it anyway and learned on the spot.
When it comes to controlling the .680 winch, you have to keep in mind how the A-frame moves. If the A-frame moves out, the package the winch is connected to will start lifting up because the winch cable is getting shorter. If the A-frame moves in, the package will start to move down as the winch cable is getting longer.
With this operation, we have to lift up the Mega core above the ground so that the co-PI can switch a pin from one hole to another that allows the Mega core to capture mud samples when it hits the seafloor.
Then we can fully A-frame out and that will lift the Mega core up and that is when the winch operator must pay out (give more line) so that it can smoothly go horizontally outwards. Once the A-frame is fully extended out, the winch operator can begin to fully pay out at a certain speed before sending the Mega core down automatically.
I was the one controlling the winch during the first coring operation and that was a bit rough. I could not quite grasp the idea of the A-frame moving and influencing the winch cable at first so when it came to lifting the Mega core before deploying it and recovering it, I was scared that I was going to squish someone’s toes! Despite my nervousness, I was able to safely deploy it and get it back on deck, and even got 11 cores out of 12! This was important since the twelfth core had not been working for months and 11 cores means all samples were collected as much they could!
9/23
This morning was busy with coring operations back-to-back. The first coring operation was a pleasant success as twelfth core on the Mega core somehow worked (which had not worked since early this year) and almost got all coring samples! The science team was so excited to see that specific core get something and made me happier that all the deck operations and winch operations were worth it even for this small moment.
Since the science party wants to start coring operations at 4am when my shift starts, that means I do half of the coring and CTD operations on deck. Sometimes I go ahead and do them all because I really want to experience the true work life of the sole marine technician on board. I, of course, am never alone as Grace always has my back and the crew are always there to support me.
Since joining this ship, I have gotten a bit shy around the new science party that joins, and I was really curious as to what this science party were looking. All I knew before they joined is that they are sampling in the Deep-Water Horizon oil spill region. I got the courage to ask them about their science project and they were very kind and open to explaining the whole reason why! The main science group that processes the mud core samples is looking at the biological samples from this sediment, whether it be microscopic or macroscopic, and seeing how the Deep-Water Horizon oil spill has impacted the species in the area. I saw that they were slicing the cores in specific lengths and I asked about that and the Chief Scientist/PI of the lab explained that when science groups first did coring samples of this region, they all sliced the cores at different lengths, and they are attempting to match each study with different lengths. That way they can compare the samples with all the different studies in a somewhat standardized way! I asked another group what they are doing here, and they want to use water samples to filter for eDNA and POM (particulate organic matter).
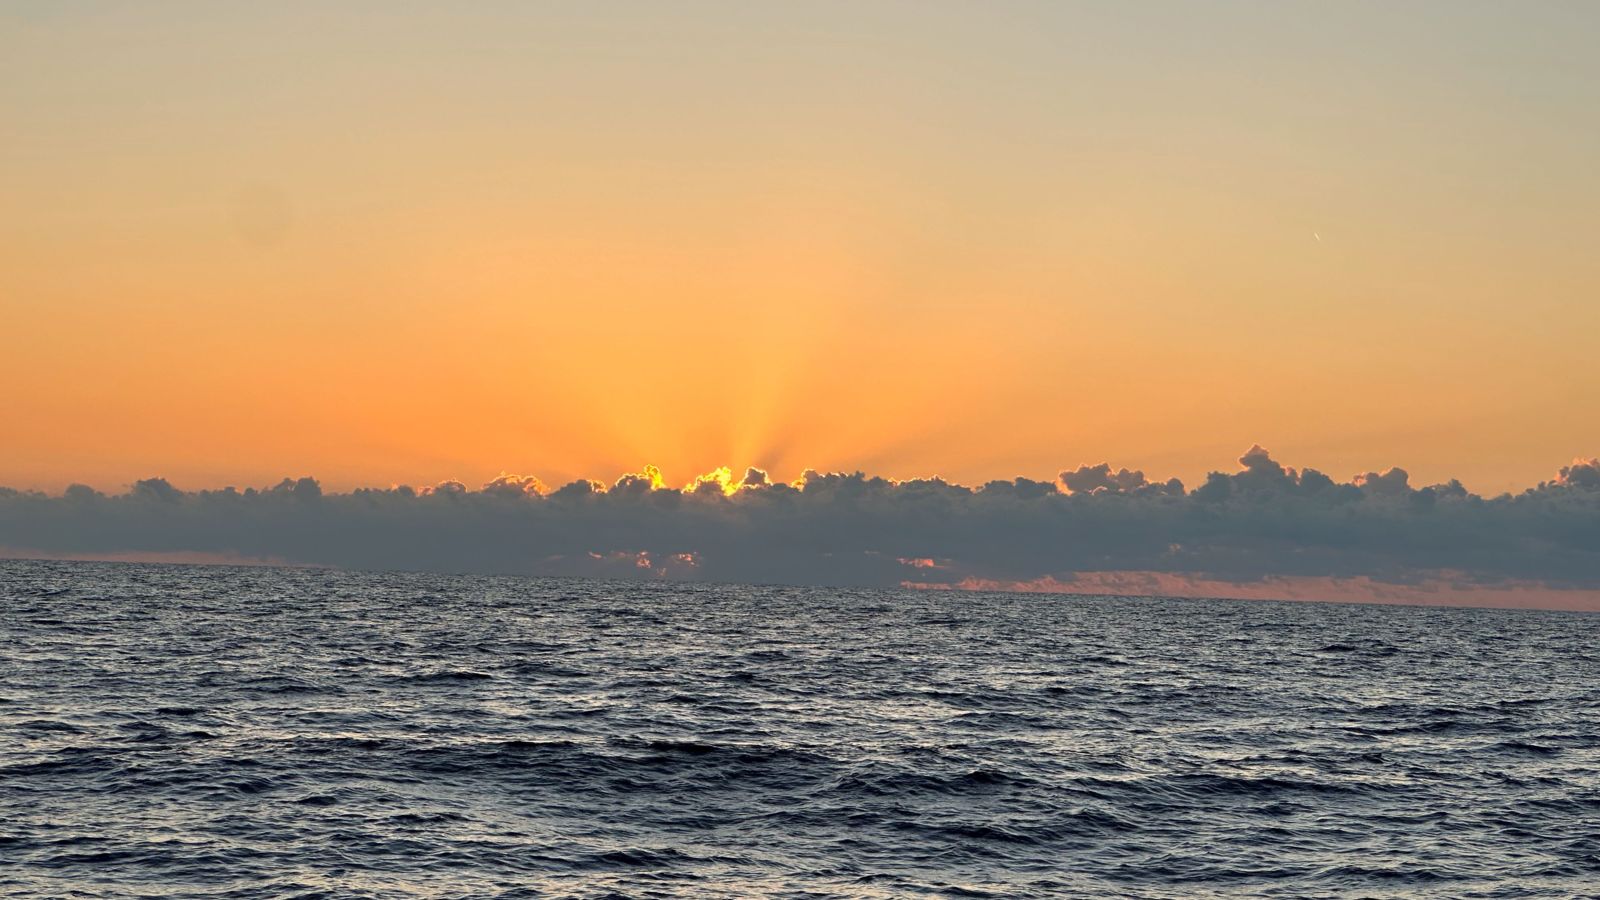
We ended all deck operations successfully and headed back to shore a day early since a new tropical storm (turned into Hurricane Helene) was forming and creating high wave height by tomorrow, so we want to avoid it as much as possible.
This mud cruise was super hard yet super fun! See you all next week!
Kristine